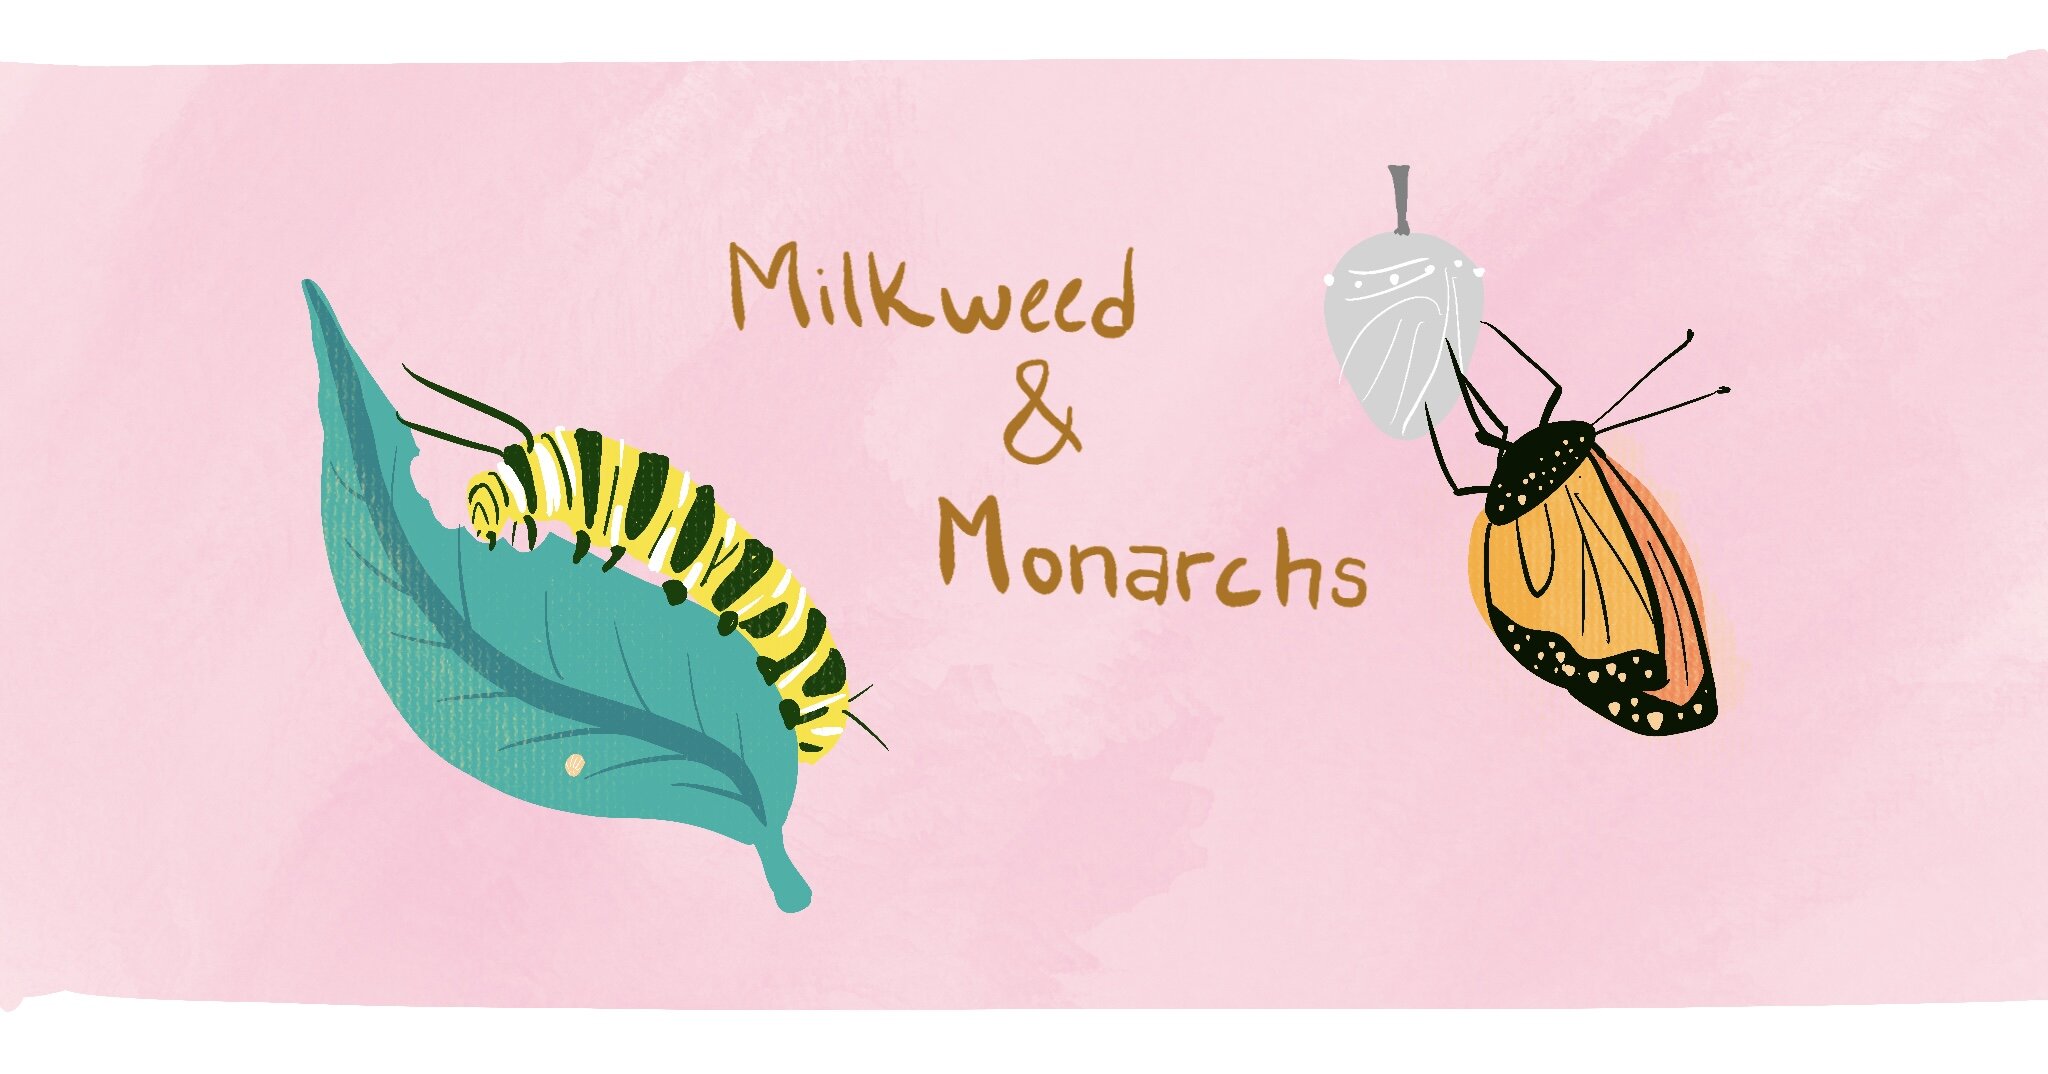
Milkweed & Monarchs
Grow your own milkweed and raise butterflies!
Monarch butterflies lay their eggs on milkweed, the exclusive diet of the caterpillars! Due to habitat destruction, the monarch population has suffered dramatically. The best thing we can do to help save these migratory pollinators is to plant milkweed, stop using pesticides, and educate our neighbors on the importance of protecting milkweed!
Raising butterflies in your home is not an adequate means of saving their population, but carefully witnessing the incredible life cycle of the monarch is a great way to learn about, respect, and advocate for these creatures!
And what is more magical than releasing butterflies?!
Did you receive a seed packet from Linda?
If so, you either received Common Milkweed Asclepias syriaca or Swamp Milkweed Asclepias incarnata. It is crucial to plant species of milkweed that are native to your location!
Especially important to avoid is Tropical Milkweed Asclepias curassavica!! This species is notoriously fast growing and non-native to North America with a nasty reputation for spreading deadly disease amongst the monarchs! If you purchase plants from a nursery, double check that the variety you’re purchasing is native!
Why Milkweed?
As the caterpillars eat the milkweed and grow, they accumulate a toxin from the plant that makes them taste absolutely terrible to predators! This is one way in which the caterpillars ensure their safety!
Growing Milkweed from Seed:
Quick Start Guide!
Step 1: Stratify your seeds!
Milkweed seeds need to experience cold temperatures before they will germinate. This process of cold exposure called stratification.
Soak your seeds overnight in water, then place them in a plastic lock bag with a slightly damp sponge or paper towel. Place your bag of seeds in the refrigerator for two weeks.
Some species of milkweed may begin to germinate while still in the refrigerator!
Step 2: Germinate your seeds!
Grab a paper egg carton (or whatever you have handy!) and fill each section with potting soil. Place seeds on top, then loosely cover with a little more soil.
Water gently, don’t oversaturate! And let’s those babies see some sunshine!
Step 3: Transplant to Larger Containers!
Once your seedlings have grown a couple sets of leaves, it’s time to gently transplant them to a larger container. Choose a container with drainage holes!
Consider planting some milkweed directly in the ground in the spring to attract butterflies and keeping some potted plants inside!
If you want to raise caterpillars, you can either collect fresh leaves for them daily, or simply keep an indoor potted plant that they can live and munch on!
BONUS STEP! Collect Seeds!
Did you notice your milkweed plant grow seed pods? How does your variety of milkweed plant go to seed?
Collect the seeds and share them with your friends!
Raising Butterflies:
Quickstart Guide!
Step 1: Collect eggs
Monarch eggs are very small, pale creamy in color, and have ridges running from the top to the bottom. You will find them on the underside of milkweed leaves!
You can collect eggs or you might find caterpillars! Only bring home as many caterpillars as you’re able to provide food for! I like to keep two medium plants for each caterpillar
Step 2: Find an Appropriate Container
There are lot’s of options! Choose something that you can clean, allows fresh air flow, and a “ceiling” for mature caterpillars to dangle from when it’s time to pupate into a chrysalis!
Don’t crowd enclosures! The more caterpillars you have, the more space they will need to stay healthy.
The tiniest baby caterpillars can fit through very small holes, so consider covering containers with pantyhose material to create a breathable but secure opening.
Caterpillars spend their entire lives eating and rarely wander away from their plants!
Step 3: Give Food, Clean Poops!
Provide fresh leaves daily! Clean up their poop daily!
Consider lining enclosures with paper towels to make clean up easier.
Don’t use any chemical cleaners, just water. Wash your hands before handling the caterpillars and their food!
Don’t allow pets treated with topical flea medications to rub against their enclosure!
Step 4: Observe Caterpillar Growth!
Your caterpillars will shed their skin multiple times as they move through five phases of growth called instars.
They grow FAST! They will be a caterpillar for 1-2 weeks.
Step 5: Observe Pupation and Eclosing
Moths will build a cocoon around them, but butterflies will shed their skin and pupate into a chrysalis.
When you notice your caterpillar hanging from the ceiling of their enclosure in a J-shape, pupation will happen within 24 hours!
Their chrysalis is a stunning bright green, speckled with flecks of GOLD! They will stay in their chrysalis for about a week.
You’ll know when your butterfly is close to eclosing (emerging from their chrysalis) when it becomes transparent and you can see the dark body and distinct orange wing pads inside! Once you notice the chrysalis change color, you’ve got about 24 hours before they eclose!
Step 6: Release
Once a butterfly ecloses, they will dangle from the skin of their chrysalis for about an hour while their wings dry. Do not touch or disturb them during this time! You might notice some liquid dripping from their wings, this is normal.
They are fragile and need to be able to dry their wings perfectly flat so they can fly!
Once your butterfly is flapping and trying to leave their enclosure, you can handle them gently! Tell them how much you love them and appreciate their important work of pollinating plants!
Now! Take them outside and let them fly away on their migratory journey. Your work is done. :)


